
Creating masks at home is a delightful activity that fosters creativity and provides an opportunity for parents and children to bond. Below are step-by-step instructions for crafting two types of masks: a simple paper plate mask and a more durable cardboard mask.
1. Paper Plate Mask
Materials Needed:
- Paper plate
- Scissors
- Paints, markers, or crayons
- Glue
- Decorative items: feathers, glitter, stickers, etc.
- Elastic string or ribbon
Instructions:
- Prepare the Base:
- Hold the paper plate up to your child’s face to estimate eye placement.
- Mark and carefully cut out holes for the eyes.
- Design the Mask:
- Decide on a theme (e.g., animal, superhero, or abstract design).
- Use paints, markers, or crayons to decorate the mask accordingly.
- Add Decorations:
- Enhance the mask with feathers, glitter, stickers, or any other decorative items.
- Secure these items using glue and allow them to dry completely.
- Attach the Strap:
- Punch holes on either side of the mask.
- Tie an elastic string or ribbon through the holes to create a strap that fits comfortably around your child’s head.
For a visual demonstration, you can refer to this tutorial:
2. Cardboard Mask
Materials Needed:
- Cardboard
- Scissors or box cutter (adult supervision required)
- Paints, markers, or crayons
- Glue
- Decorative items: pom-poms, sequins, fabric scraps, etc.
- Elastic string or ribbon
Instructions:
- Create the Base:
- Draw the desired mask shape on the cardboard and cut it out.
- Mark and cut out eye holes, ensuring they align with your child’s eyes.
- Add Features:
- Cut additional cardboard pieces to create features like ears, noses, or horns.
- Attach these features to the base using glue and allow them to dry.
- Decorate the Mask:
- Paint or color the mask and its features.
- Once dry, add decorative items such as pom-poms, sequins, or fabric scraps to enhance the design.
- Attach the Strap:
- Punch holes on either side of the mask.
- Thread an elastic string or ribbon through the holes and adjust for a comfortable fit.
Safety Tips:
- Always supervise children when using scissors or other sharp tools.
- Ensure that materials used are non-toxic and safe for children.
- Make sure the mask fits comfortably and does not obstruct breathing or vision.
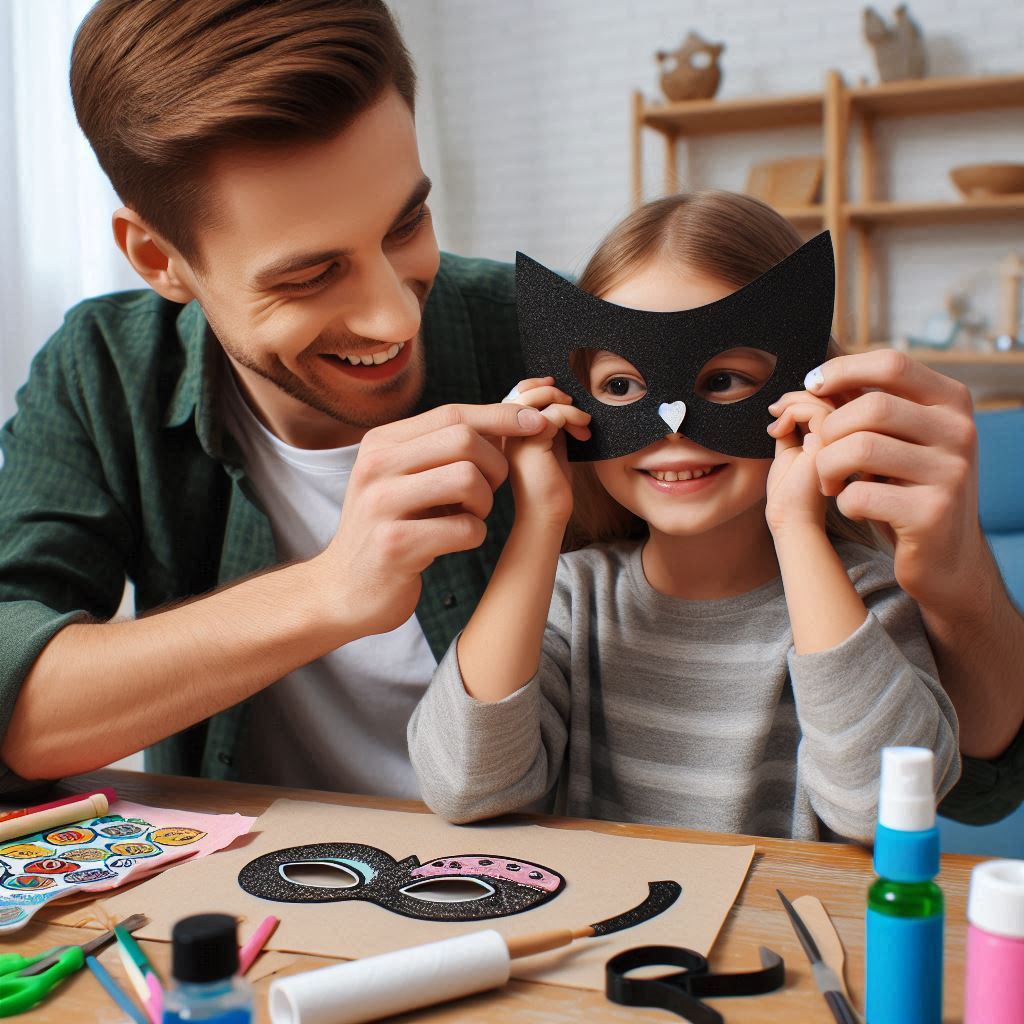
Engaging in these mask-making activities not only sparks creativity but also provides a fun way for parents and children to collaborate and express themselves.